Table of Contents
Introduction
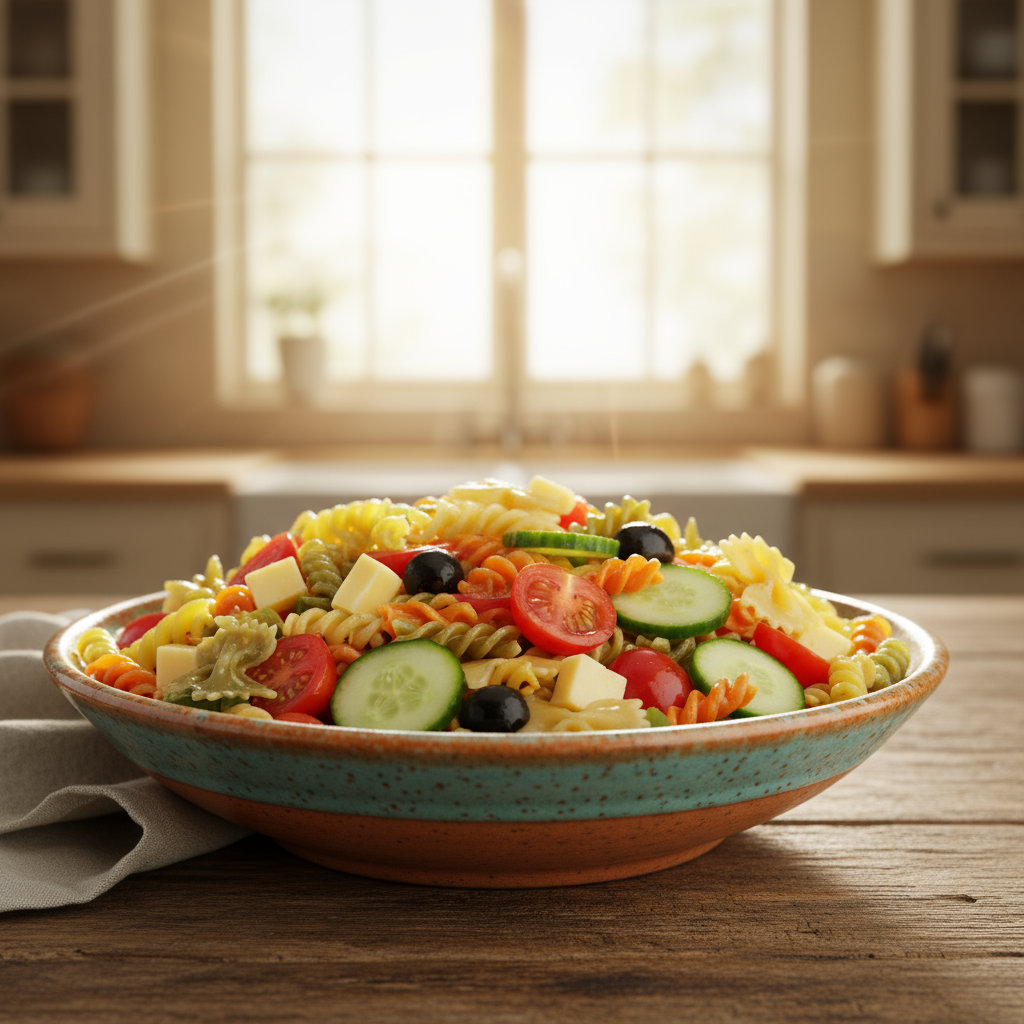
Picture this: you’re pulling a perfectly golden loaf of garlic bread from the oven, and suddenly your entire kitchen smells like heaven. The aroma hits you first—that irresistible blend of butter, garlic, and toasted bread that makes everyone in the house appear like magic. We’ve all been there, right? Garlic bread isn’t just a side dish. It’s the supporting actor that somehow steals the show, whether you’re serving it with a simple pasta dinner or a fresh garden salad.
But here’s the thing—getting garlic bread just right can be trickier than it seems. You want that perfect balance: crispy on the outside, soft and buttery on the inside, with just enough garlic to make your taste buds sing (without overwhelming them). Too many home cooks end up with soggy bread or, worse, garlic that’s so harsh it burns. Sound familiar? Don’t worry—we’ve got you covered. The secret lies in choosing the right bread, nailing that garlic-butter mixture, and knowing exactly how long to bake it. If you’re curious about bread basics, checking out some easy homemade bread recipes can really open your eyes to how different breads behave in the oven. And if you’re planning a full Italian-style meal, you might want to browse through the best sauce recipes for pasta to create the perfect pairing.
Now, let’s talk technique. Making great garlic bread isn’t just about slathering butter and garlic on bread (though that’s a good start). It’s about the details that make the difference between “pretty good” and “absolutely incredible.” How you slice the bread matters. How evenly you spread that butter mixture? Critical. Even the temperature of your oven plays a role. The good news is that once you know these tricks, you’ll never have to worry about disappointing garlic bread again. For those who like to think ahead, understanding proper storage techniques becomes important too—and exploring more easy homemade bread recipes can give you insights into keeping your creations fresh longer.
There’s something special about homemade garlic bread that goes beyond just taste. Maybe it’s the way it brings people together around the dinner table, or how it turns a simple weeknight meal into something that feels more special. Whatever it is, mastering this recipe means you’ll always have a crowd-pleaser in your back pocket. Whether you’re hosting friends or just want to make Tuesday night feel a little more indulgent, knowing how to make exceptional garlic bread is a skill worth having. For beginners looking to expand their baking confidence, exploring baking recipes for beginners provides a solid foundation that complements these garlic bread skills perfectly.
What You’ll Learn in This Guide
Ready to become a garlic bread master? Here’s exactly what we’re going to cover together:
- Ingredients for the Best Garlic Bread: We’ll break down everything you need, from choosing the perfect bread (hint: not all breads are created equal) to deciding between fresh garlic and alternatives, plus how to create that perfect butter mixture with herbs and seasonings that’ll make your taste buds dance.
- Step-by-Step Instructions: You’ll get foolproof directions for every single step—prepping, slicing, buttering, and baking—with insider tips to nail the texture every time and avoid those frustrating mistakes that can ruin a perfectly good loaf.
- Variations and Additions: Want to get creative? We’ll show you how to customize your garlic bread with cheese (because cheese makes everything better), different herbs and spices, and alternative butters and oils to match any occasion or dietary need.
- Tips for Serving and Storage: Learn the best ways to serve your garlic bread while it’s at peak deliciousness, plus smart storage tricks to keep leftovers fresh so you can enjoy your creation for days to come.
As we dig into the details, you’ll discover the professional secrets that separate good garlic bread from absolutely amazing garlic bread. These aren’t complicated techniques—they’re simple tweaks that make all the difference. By the time we’re done, you’ll have the confidence to experiment and make this recipe truly your own. And if you’re feeling inspired to expand your cooking repertoire, you might enjoy exploring simple seafood recipes or easy stir fry recipes that pair beautifully with fresh garlic bread.
The best part? This guide works whether you’re a complete beginner who’s never made garlic bread before, or you’re already comfortable in the kitchen but want to take your game to the next level. We’re going to start from the basics and build up, so you’ll never feel lost or overwhelmed. Get ready to impress everyone at your dinner table—including yourself. Your best garlic bread ever is just a few steps away, and honestly? Once you taste the difference, you’ll never want to go back to store-bought again.
There’s something magical about garlic bread, isn’t there? That irresistible aroma wafting from the oven, the way it transforms any ordinary meal into something special. Whether you’re serving it alongside pasta night or just want to jazz up a simple soup, garlic bread has this amazing ability to make everything better. But here’s the thing—not all garlic bread is created equal. Some turns out soggy, others burn to a crisp, and don’t even get me started on the stuff that tastes like cardboard with garlic powder sprinkled on top. Today, we’re going to change all that. I’ll walk you through everything you need to know to make garlic bread that’ll have your family fighting over the last piece.
Choosing Ingredients and Preparing the Perfect Garlic Butter Mixture
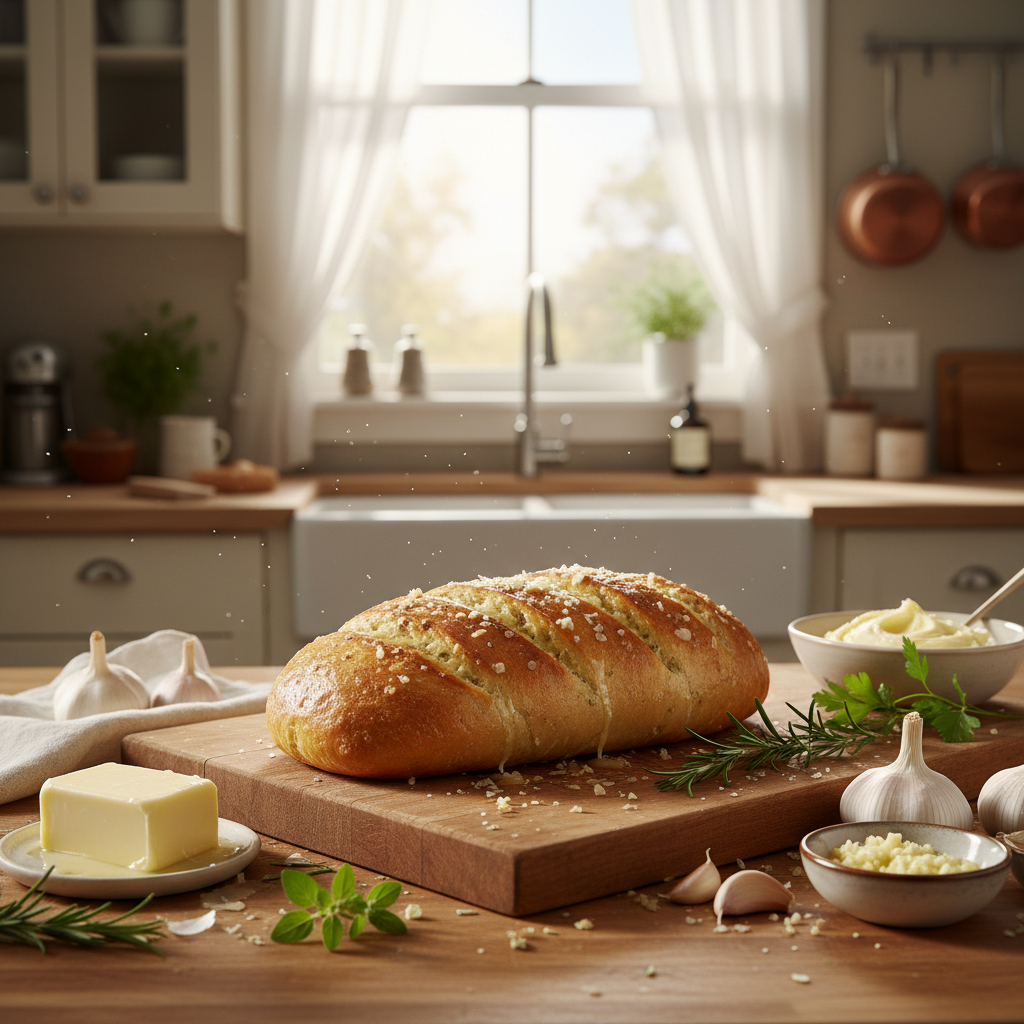
Let’s start with the foundation—and trust me, this matters more than you might think. The bread you choose can make or break your garlic bread game. I’m talking about getting a good crusty baguette or some authentic Italian bread, the kind with a golden crust that actually cracks when you squeeze it. (You know what I mean—that satisfying crunch that tells you it’s fresh.) Skip the pre-sliced sandwich bread if you can. It just doesn’t have the structure to hold up to all that buttery goodness without turning into mush.
Now, about freshness—this is where a lot of people go wrong. You want bread that’s been baked within the last day or two. Any older and it won’t soak up the garlic butter properly. Any fresher and it might get too soggy. It’s like Goldilocks—you need it just right.
Here’s where things get interesting: the garlic butter mixture. This is your chance to really shine. Fresh garlic versus garlic powder? Look, I get it—garlic powder is convenient. But if you want that bold, authentic flavor that makes people close their eyes and sigh with satisfaction, go fresh. Mince it fine, and don’t be shy about it. The butter should be soft enough to mix easily (leave it out for about an hour beforehand), and here’s my secret: add fresh parsley for brightness, a touch of oregano for that earthy depth, and just a pinch of red pepper flakes if you like a little kick. The combination is incredible.
Think of it like this—each ingredient plays a specific role in creating that perfect bite. The parsley cuts through the richness, the oregano adds warmth, and that tiny bit of heat from the pepper flakes? It wakes up your taste buds without overwhelming them.
Key Aspects of Ingredients and Mixture Preparation
When you’re putting together your garlic bread masterpiece, keep these things in mind:
- Bread Selection: Go for bread with a sturdy crust and soft interior—baguettes and Italian loaves are your best friends here. They’ll get crispy outside while staying tender inside, and they won’t fall apart when you load them up with butter.
- Garlic Quality: Fresh garlic is non-negotiable if you want amazing flavor. Mince it as fine as you can—nobody wants to bite into a chunk of raw garlic, but you want that flavor distributed throughout every bite.
- Butter Mixture Composition: Make sure your butter is soft enough to blend easily with all your ingredients. Mix everything thoroughly so you get consistent flavor in every spread—no sad, flavorless spots allowed.
- Herb and Spice Variations: This is where you can get creative. Parsley and oregano are classics, but feel free to experiment. Just remember—you want to enhance the garlic, not compete with it.
Once you’ve got your butter mixture down pat, you’re ready for the next step. And let me tell you, how you apply and bake this is just as important as what goes into it.
Techniques for Applying Garlic Butter and Baking to Achieve Perfect Texture
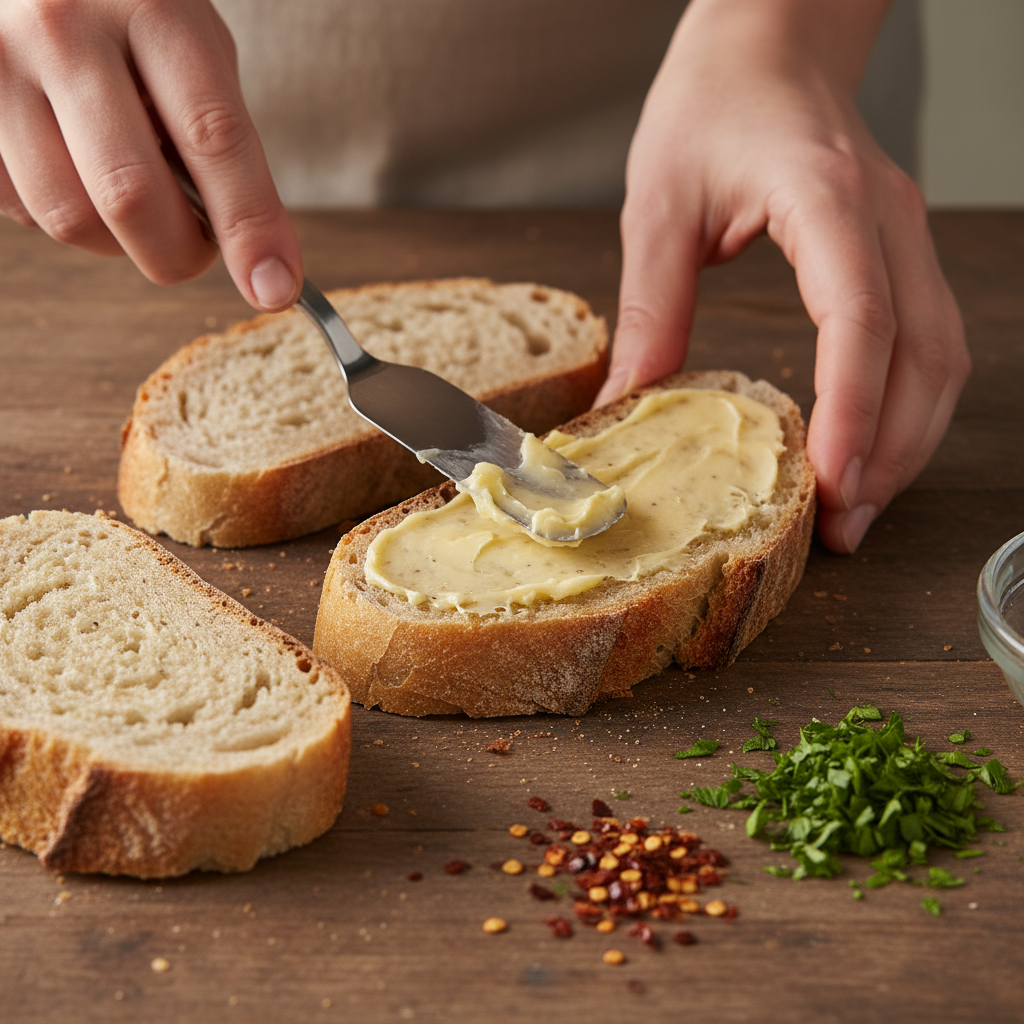
Alright, here’s where the magic really happens. You’ve got your beautiful bread and your amazing garlic butter—now don’t mess it up with poor technique! First things first: slice your bread evenly. I know it sounds basic, but uneven slices mean uneven cooking, and nobody wants some pieces burnt while others are barely warmed through.
When it comes to spreading that butter, be generous but smart about it. You want every inch covered, but you don’t want it dripping off the sides and making a greasy mess. I like using the back of a spoon or a pastry brush—gives you better control than just slapping it on with a knife.
Now for the baking part, and this is where patience pays off big time. Most people crank the heat too high and wonder why their bread burns before the inside gets warm. Sweet spot? Somewhere between 350°F and 400°F. Start checking around the 10-minute mark, but don’t be surprised if it needs a few more minutes.
Here’s a pro tip: if you want it extra crispy, go uncovered. Want it more on the tender side? Tent it with foil for most of the baking time, then remove the foil for the last few minutes to get that golden top. It’s all about what you’re in the mood for.
Key Aspects of Application and Baking
To nail this every single time, remember these crucial points:
- Bread Preparation: Even slices are everything—they ensure your butter coverage is consistent and your baking is uniform. Take an extra minute to do this right, and you’ll taste the difference.
- Butter Application: Spread generously but evenly. Too much and you’ll have a soggy mess; too little and you’ll wonder where all the flavor went. Find that sweet spot and stick with it.
- Baking Temperature and Time: Keep it moderate—350°F to 400°F for about 10 to 15 minutes. Watch it like a hawk after the 10-minute mark because garlic bread can go from perfect to burnt faster than you’d think.
- Baking Method: Foil for tender, no foil for crispy. Simple as that. You can even do a combination—start covered, finish uncovered—for the best of both worlds.

You know what? Making incredible garlic bread isn’t rocket science—but it does require knowing a few key tricks. We’ve covered everything from choosing the right bread (those sturdy, crusty loaves like baguettes and Italian bread are your best friends here) to understanding why fresh garlic beats the powdered stuff every single time. That bold, authentic flavor? It’s worth the extra minute of mincing. And let’s talk about that garlic butter mixture—when you add fresh herbs like parsley and oregano, plus just a pinch of red pepper flakes, you’re not just making garlic bread. You’re creating something that’ll make your kitchen smell absolutely amazing and turn any ordinary meal into something special.
The actual baking process might seem straightforward, but here’s where the magic happens. Slice evenly, spread that garlic butter mixture like you mean it (but not so much that you end up with soggy bread—nobody wants that), and then decide: do you want it soft and tender? Wrap it in foil. Craving that perfect crunch? Leave it uncovered and let the oven work its magic. Once you nail these details, you’ll be pulling out restaurant-quality garlic bread every time. Whether you’re serving it alongside pasta, dunking it in soup, or just eating it straight (we don’t judge), it’s going to be consistently delicious.
And here’s where things get really fun—the variations are endless. Cheesy garlic bread? Game changer. Different butters and oils? Each one brings its own personality to the table. You can customize this recipe for any occasion, dietary need, or taste preference, which means you’ll never get bored. Plus, we covered all those practical bits about serving and storage because let’s be honest—if you’re like most people, you’ll want to make extra and save some for later. (Pro tip: proper storage keeps it tasting fresh instead of like cardboard.)
Ready to put all this knowledge to work? Here’s what I’d do first: grab a fresh baguette or Italian loaf, make that herb-packed garlic butter mixture we talked about, and give it a try. Once you’ve got the basics down, experiment with adding some mozzarella or parmesan—trust me, cheese takes this from great to absolutely incredible. Don’t skip the serving and storage tips either; they’ll save you from any disappointing leftover experiences. Want to take your bread game even further? Check out our guide on easy homemade bread recipes to really up your skills. And if you’re planning a full Italian-style meal, our best sauce recipes for pasta will give you the perfect pairings. Looking to balance out all this deliciousness with healthier choices? Our healthy nutrition plan has some great tips for eating well while still enjoying the foods you love.
If you’re new to baking or just want to build more confidence in the kitchen, definitely check out our baking recipes for beginners guide. It’s designed to help you feel comfortable and capable, no matter where you’re starting from. With these resources and what you’ve learned here, you’re not just going to make amazing garlic bread—you’re going to develop real kitchen confidence that spills over into everything else you cook.
Look, there’s something genuinely satisfying about pulling a perfectly golden loaf of garlic bread out of your oven. The smell, the taste, the way it makes everyone at the table a little happier—that’s what good food is all about. It’s surprisingly simple to get right once you know what you’re doing, and honestly? The more you make it, the better you’ll get. So go ahead, give it a try. Your taste buds (and anyone lucky enough to share a meal with you) will definitely thank you.
Frequently Asked Questions
-
Can I use frozen bread for garlic bread?
- Yes, you can use frozen bread for garlic bread, but it’s best to thaw it completely first to ensure the right texture and even cooking.
-
How do I make garlic bread less greasy?
- To avoid greasy garlic bread, spread butter evenly and use a moderate amount, ensuring the bread absorbs it without becoming soggy.
-
Can I make garlic bread without an oven?
- Yes, garlic bread can be made using a toaster oven or by cooking in a skillet on the stove, achieving a crispy outside and soft inside.
-
How long does garlic bread stay fresh?
- Garlic bread is best enjoyed within 1 to 2 days of baking. Store leftovers in an airtight container and reheat to preserve texture and flavor.